A DVD player is a new way of connecting to the projector, like in most cases; the computer is the one being connected. Connecting the DVD to the projector is not hard, and few steps are enough to make it work. Since we connect the DVD to TV to watch movies and music, you can connect to the projector to get an even bigger screen. There is nothing as fun as watching your favorite movies from a big screen. It’s good to know the steps to follow in connecting the DVD to the projector.
How To Connect A DVD Player To Projector With Step By Step
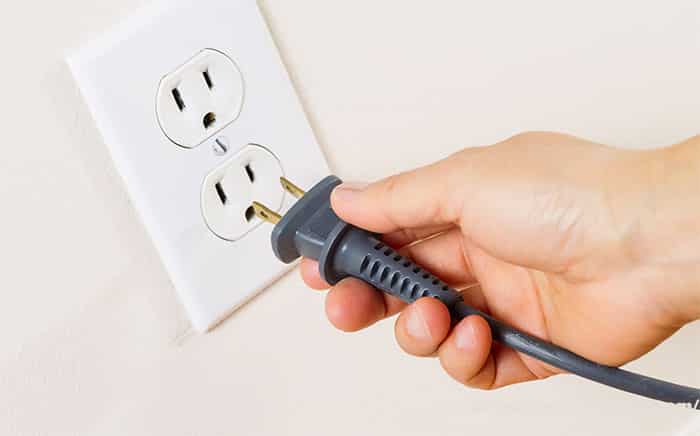
Step1: Plug The Power Cable In
The first step is always important in everything you do. It shows whether you are doing the right thing or not. Plug the power cable to the electoral power source most of the time; the source is at the wall. After the first move, then plugs the power cable to the movie projector. After plugging into the power source and the projector, leave it powered off for the moment.
Step2: Plug DVD Player To Power
The next step is to plug your DVD into the power source before anything else. Take the DVD cable that’s meant for power connectivity and connect to the source at the wall. Remember that it does not come with a cable to connect both DVD and power source. The cable, in this case, it’s already connected to the DVD player. All you need is to connect it to power. It’s an easy step to follow. When done, do not turn the power to wait for the next steps.
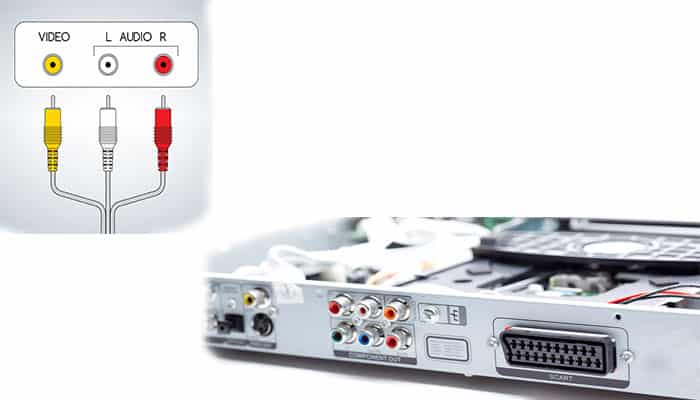
Step 3: RCA Cable Should Be Connected To The DVD Player
Now, this is the part where the DVD player and the projector connect for the first time. Take the RCA cable and connect to the back of the DVD player first. Then connect the same RCA cable to the back of the projector.
The yellow RCA cable is to be connected to the “out” port on the DVD player. The other side is plugged into the “in” of the projector port for video.
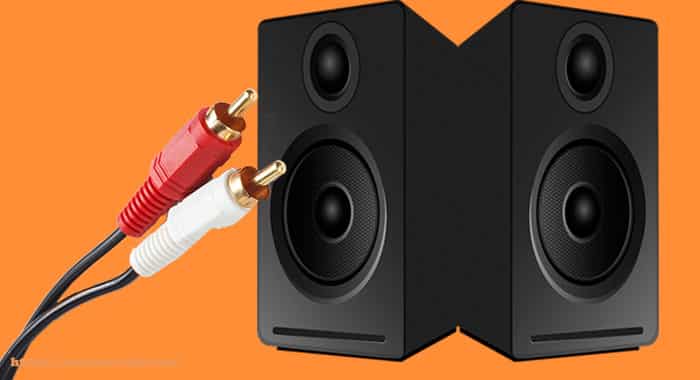
Ste4: Add Speakers (Optional)
If the projector sound is not enough for you, you could as well add speakers for better sound. If you want external speakers, connect the speaker cable to the projector back that says “audio out.” When done with the setup, turn the speakers on. Everyone has a sound volume degree that they are comfortable listening to. If the projector sound is not enough for you, this move is great for better movies sound in your home theater.
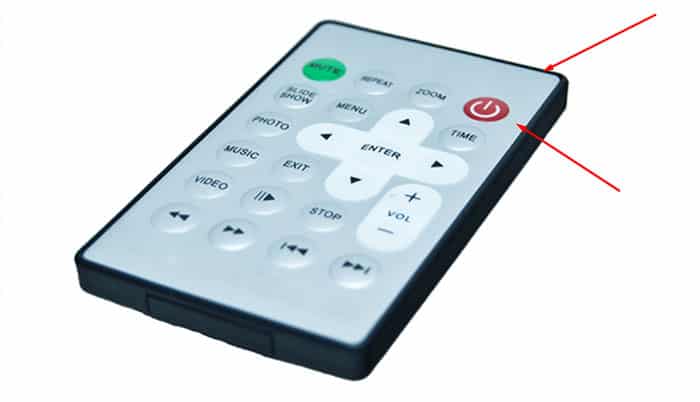
Step5: Turn The Projector and DVD Players On
After making all the necessary connections, it’s now time to turn it on. Turn the power source on the wall first before you turn the projector and DVD players. All the steps followed makes the set up easier with more effectiveness.
Step 6: Troubleshoot In Case Of Issues
Sometimes things may not go as expected with the set and need to look at what could be the problem. If you are not able to see the picture on the projector, check the RCA cables. You could as well press the source button and select a video from the menu.
Conclusions
Connecting the DVD player to the projector has proven to be easy from the start. To the people doing the connection for the first time, you do not worry. It could be that you have connected the DVD to your TV many times; naturally, it becomes easier for you. The ports are no different from normal sound and video ports to connect. All you have to do is to know where to place the cables correctly. The information above makes it easier to follow the steps and connect your DVD to the projector to enjoy big-screen movies.
You May Also Like To Read:
- How To Connect Macbook Pro To Projector Using HDMI
- How To Connect Xbox 360 To The Projector Step By Step!!
- How To Connect Phone To Projector Using Wire and Wireless
- How Do I Connect My Sound System To My Projectors Perfectly?
- Connect iPad To Projector Wirelessly Without Apple TV With Step By Step
- How To Connect MacBook Air To Projector? We Explained Your Questions
- How to connect an Acer Projector to a PS4 console and Fix no signal problem?
Myself Ruby Vivian, I am a BIGGER-screen enthusiast and I can’t lie. Served as an electric technician for 7 years now, and I loveee what I do. You can learn more about me here.